I’ve always heard and read about making a vocal booth out of moving blankets as an inexpensive and nonintrusive alternative to the real thing. I was skeptical, but there was one word that persuaded me to pursue it: inexpensive. Hmmm. Intriguing.
Granted, I would prefer to have a permanent, professionally-made vocal booth…. heck, I’d prefer a permanent, professionally-made studio. But, alas, I don’t have room to permanently construct a vocal booth in my home studio, so a portable one was going to have to do. I needed something that I could assemble/disassemble on a whim and store in the garage out of the way. I also needed it to be quite sturdy.
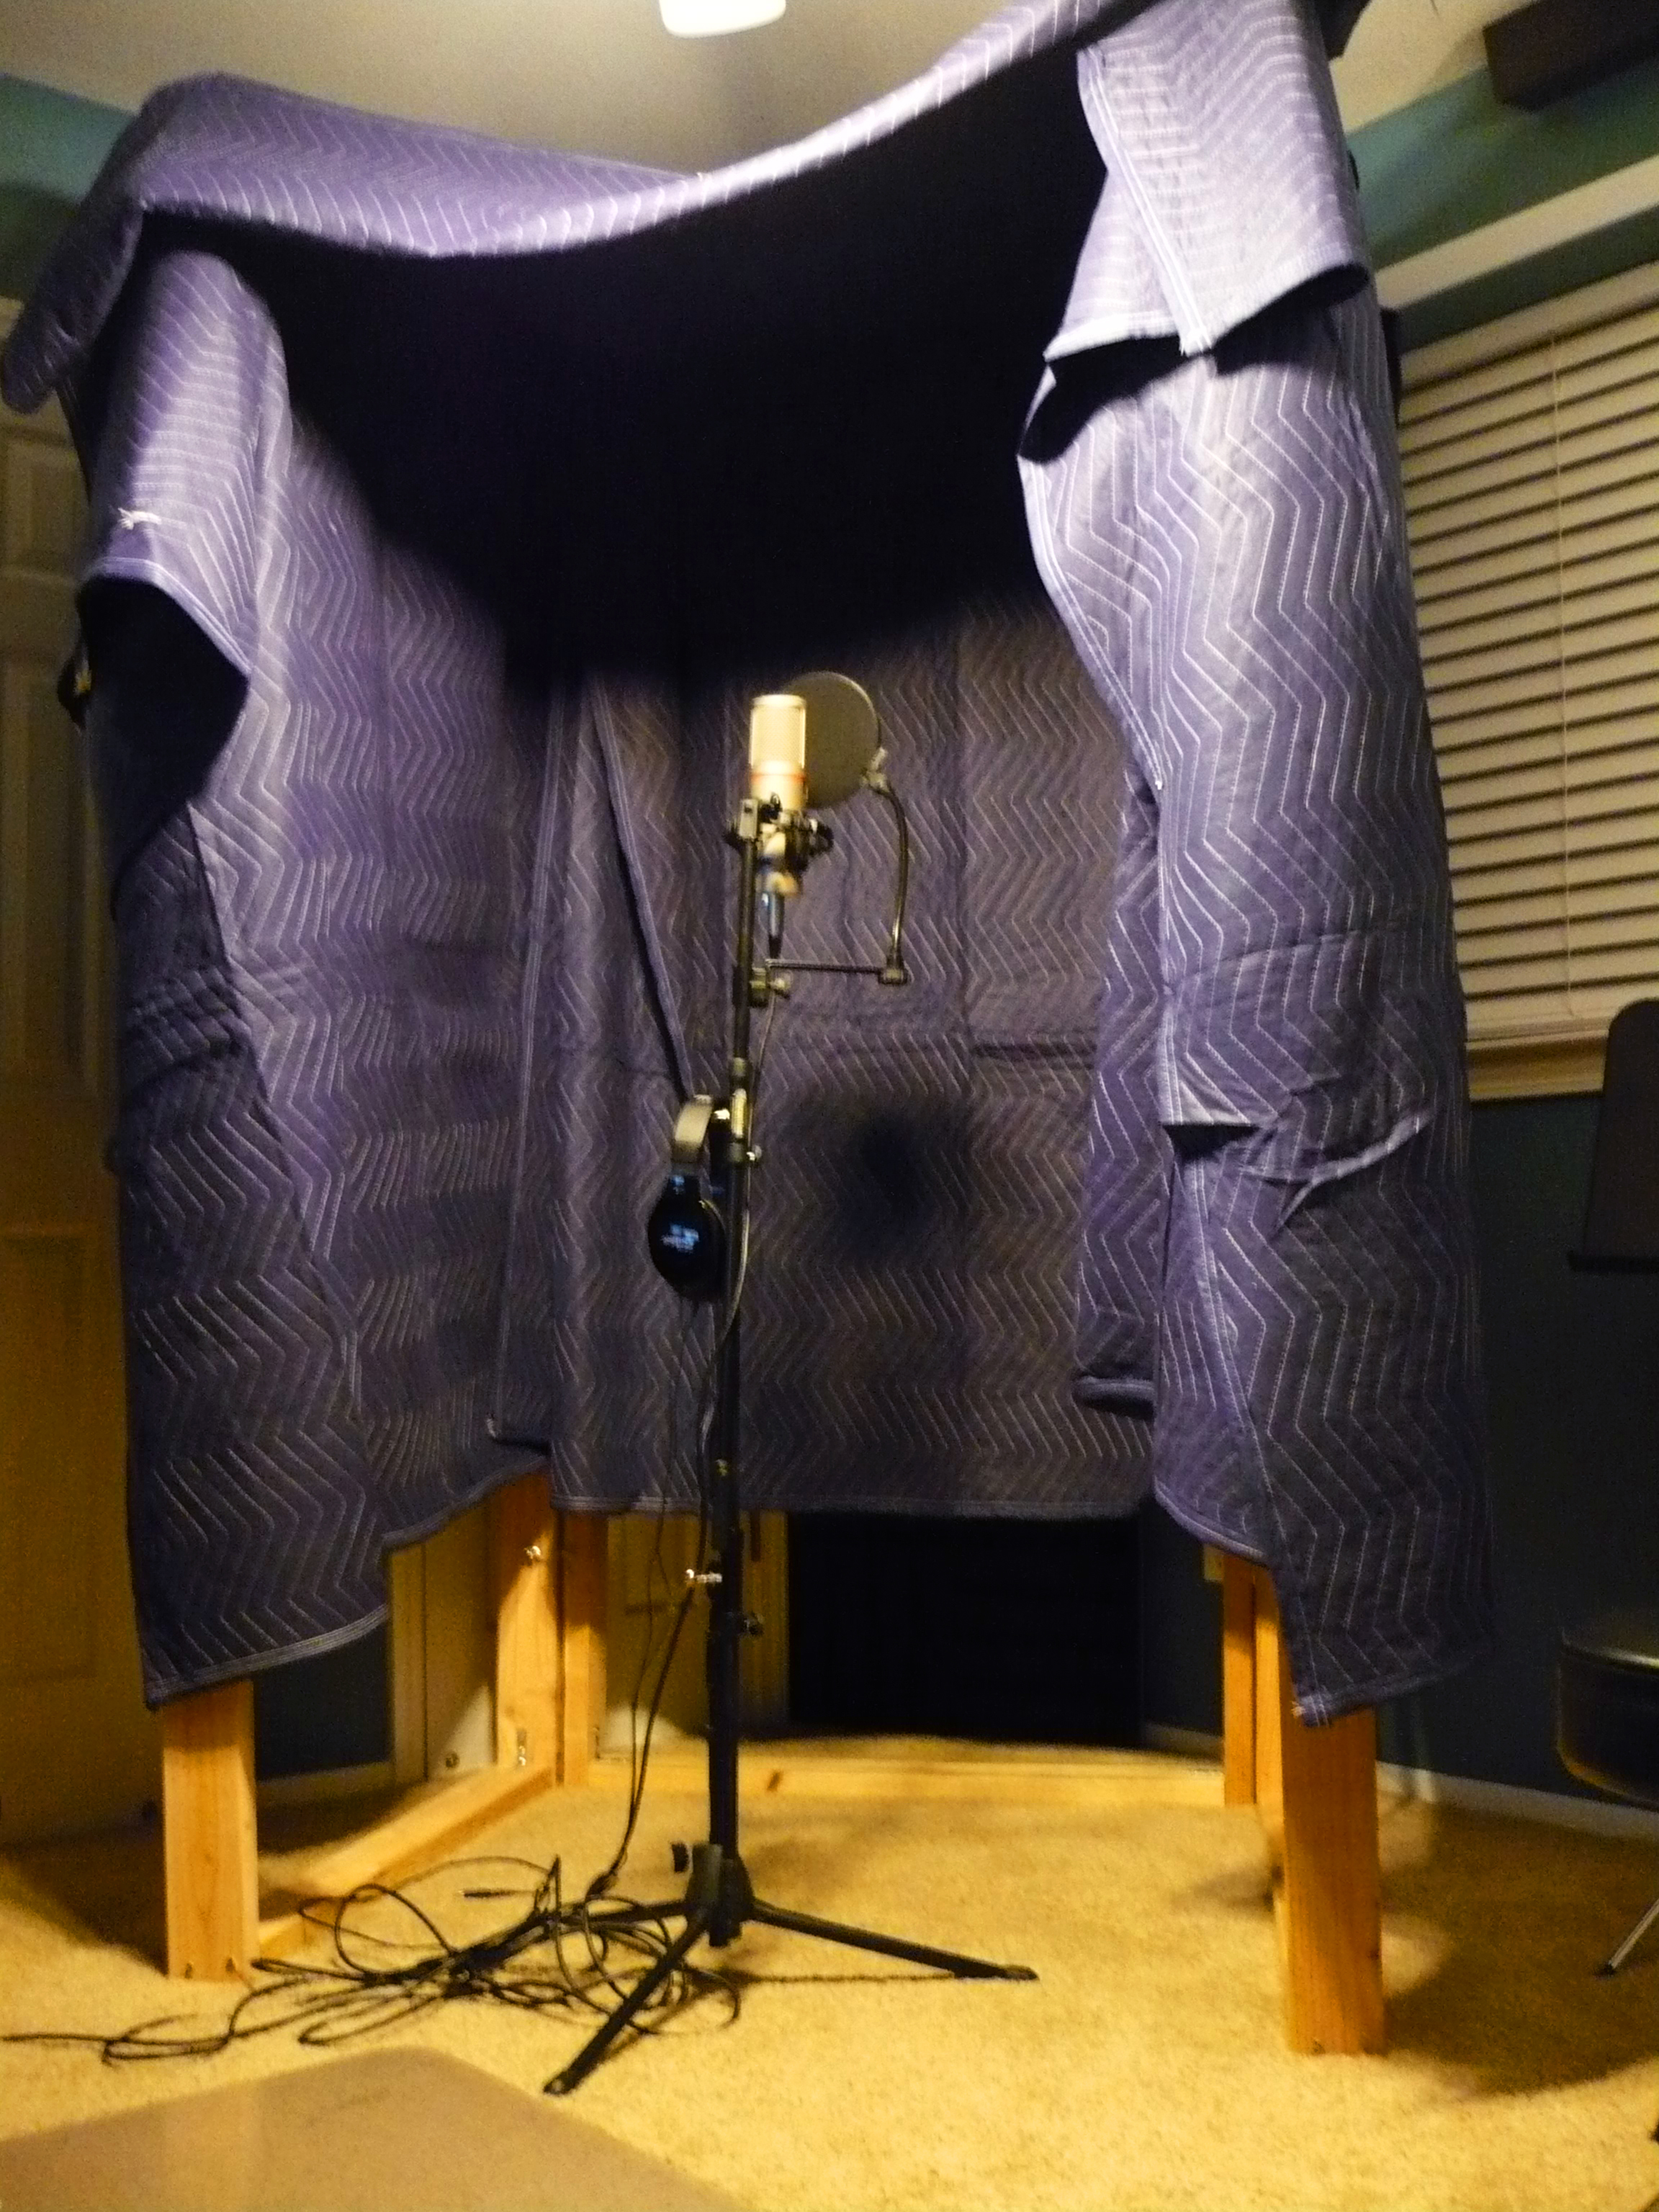
First of all, why moving blankets? Apparently, moving blankets are quite thick and when doubled or tripled up they can really clamp down on any noise floating around them. I’ve seen many people use clips and hang them from their ceiling tiles or something and that just didn’t appeal to me in that form. I wanted it to actually be a booth, just collapsable. So, I set my brain ta’ thinkin’ and I came up with something that, when tested this last weekend, proved to be a winner. I then thought to myself: “I bet there is someone else out there wondering how to get a vocal booth in their small home studio and receive close-to professional results.” So, here is what I did. Maybe it can help you if you’re in need.
I bought 2X4s and constructed 3 frames that are 7 ft X 3 ft like this:
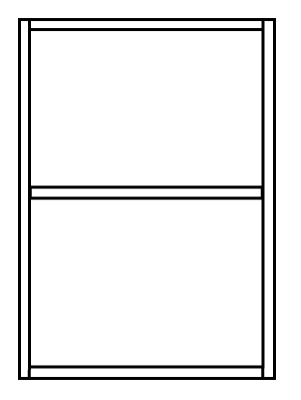
I screwed them together and used brackets to give them extra stability. Then, to make them stand AND to make them collapsable, I hinged 2 of them together using door hinges. I wasn’t able to hinge the 3rd frame and keep the booth collapsable, so I had to make it free standing and hook it to the other frames to form my 3 sided booth using eye-hooks.
I then bought some moving blankets on ye old amazon and put one blanket on each side of each frame using safety pins to bind them together. So, there are 2 blankets for each frame to ensure good dampening. I then topped the booth with 1 blanket so no room reflection comes bouncing off the ceiling.
That’s it. It took me a couple of hours to cut the wood properly and put them together and 30min. to put the blankets on. I put it through a test run and everyone was quite impressed. No room reflection at all. I am going to add my reflection filter to the mic for extra dampening, but even without it we had a great vocal take as you can see from the audio sample below.
At any rate, here is a video of my booth and the singer using it.
NOTE: I kept calling it a gobo because I’ve heard many people call them that, but I am unsure if that is accurate. So, please forgive if I’m misusing that slang… I just want to be cool like all the other Rick Rubins. 😉
And here is an audio clip from that session using the booth.
I hope this helps someone in a vocal booth pickle. Feel free to leave any comments or suggestions for improvement. I’m always looking for the perfect sound.
Till next time…
David (Cali Dingo)
Hello David,
this is very impressive. May I ask if the rest of the room was treated in any way? I’d like to know why the singer was facing us and not the blanket. Were there foams on the wall he was facing that we couldn’t see?
It’s also hard to see on the picture in the corner, is there a bass trap? I would appreciate this info more than anything in the world right now!
I’m going with that set up 100%. Thank you so much for this!
Hello,
I’m very happy this post could help you out in some way. I actually used a home-made reflection filter on the mic, however it got in the way when filming. I suppose I should have just left it in there. But, the singer is facing out of the booth because the real purpose of the booth is to cancel any room reflection. If one wants to, they can totally box the singer in all the way, but you definitely need room for the mic and the ability to get everything setup and situated inside the booth. It’s not really necessary in my opinion. What you see in the picture is just some left over treatment leaning against the wall. It’s not really doing anything. However, I do have my room treated and have a series of posts showcasing on how I went about doing it, so feel free to check it out. I’m not expert, but everything I did was taken from those who know better than me.
Part 1
Part 2
Part 3
I hope they help!
David
Thanks you! And thanks for the links!