Hello folks!
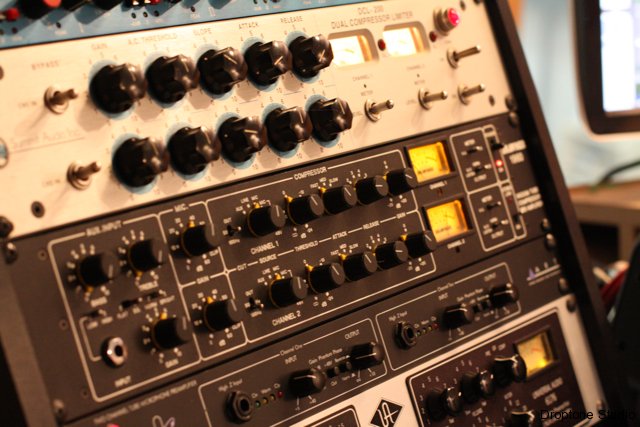
I’ve been a little more sporadic lately with posts, but this is due to a good thing. California Dingo has been getting business which has taken me away from my dolling out useless info on my wee lil’ blog. I’ll have some goodies I’ll be sharing in the near future as a result from my busy-ness, but for now I want to share an article I came across on how to use compression for drums. Now, this article is specifically speaking about compression on recording drums, but this method is useful when adding compression to any instrument or vocal that is being recorded via a microphone (as opposed to a direct injection). You will have to adjust according to the source you’re recording, but use this method to find a nice even audio of your audio source.
Again I ripped this from my mixing idol, Mr. Bobby Owsinski. I actually have a couple of his books and won’t hesitate to recommend you going to Amazon on a quest for one of his many books. I’m sure you’ll find some gold in there somewhere.
Without further ado….
——————————————————————————————-
It would be great if every drummer hit every beat on the kick and snare with the same intensity, but unfortunately that doesn’t even happen with the best drummers on the planet. When the intensity changes from beat to beat, the pulse of the song feels erratic, since even a slight change in level can make the drums feel a lot less solid than they should be. Compression works wonders to even out those erratic hits and helps to push the kick and snare forward in the track to make them feel more punchy. Let’s take a look at how to do that with the drums.
1. Start with the attack time set as slow as possible, and release time set as fast as possible on the compressor.
2. Turn the attack faster until the instrument begins to sound dull (this happens because you’re compressing the attack portion of the sound envelope). Stop increasing the attack time at this point and even back it off a little so the sound stays crisp.
3. Adjust the release time so that after the initial attack, the volume goes back to at least 90 percent of the normal level by the next beat. If in doubt, it’s better to have a shorter release than a longer one.
4. The more wild the peaks, the higher the ratio control must be set, so increase it until the sound of the instrument or vocal is pretty much the same level throughout.
5. Bypass the compressor to see if there’s a level difference. If there is, increase the Gain or Output control until the volume is the same as when it’s bypassed.
Note that regardless of how good the room mics sound, the more of them you use, the less space there will be for the other instruments in the track. The more instruments there are, the more you’ll have to back them off. Sad but true, but unfortunately, there’s only so much sonic space to any mix.
—————————————————————————————–
I hope you found this useful. Again, I’ll be sharing some of my recent work in the near future. I hope you’ll swing around my neck of the interweb and check it out.
Till then…
David (Cali Dingo)