I was recording some drums a couple of weeks ago for a song I’m working on when it became clear to me that there are a few products and items I use around the studio that really save me a ton of time, headache and, in some cases, money. I thought it worthy of sharing so, without further ado, here is my list of 5 must-haves in the studio to make your time in the studio a pleasant one.
1. Wireless Keyboard & Mouse

It was upon using this excellent invention while recording drums that this blog post idea spawned. This is a definite MUST-HAVE. You (and I) are never going to record a drum track or any instrument flawlessly on the first take. So, picture if you will, me sitting behind my drum kit and the computer is waaaaay over there. I play a few bars and… mistake! Now, I have to get up and shimmy my way through the kit around the annoying cables and hit stop on the keyboard. You re-engage the track for recording another take, press play/record, walk around and over the cables, shimmy your way into the drum kit and you now have .5 seconds to get your sticks in hand ready to play before the song starts. Not fun.
A wireless keyboard allows me to keep the control panel for my DAW right next to me. Performing take after take is no problem and instantaneous. This is handy for any occasion that you are recording across the room from your DAW/computer. In fact, I love it so much I’ll mess up takes just to relish in my new-found freedom. Well, okay… that’s a lie. I picked mine up for around $50 at Office Depot.
2. Dual Monitors
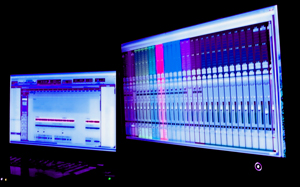
This is something I don’t see many people do and I don’t understand why. When using most DAWs you will undoubtedly need to see both your edit window AND your mix window. Most DAWs allow you to flip between the two as you’re working, however, I find this tedious. By incorporating one more monitor into your workflow you constantly view your edit and mix windows at all times. I just find this easier to monitor levels and to just really see what the heck is going on while recording or mixing. I picked up my extra flat-screen monitor at Best Buy for $99. It’s not expensive and takes up very little room. Totally worth it.
3. Wacom Tablet
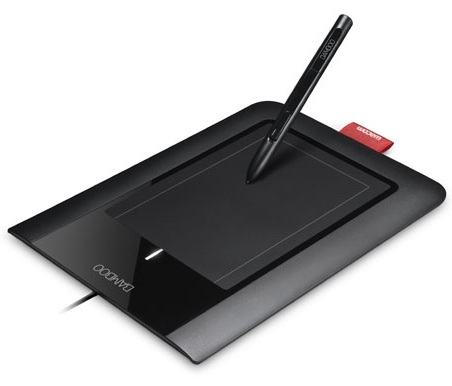
These are excellent when you want to ride a fader or tweak a knob ever so slightly in your DAW. Wacom tablets are typically used in graphic design because they allow you to get real intricate and detailed and the response is similar to using a pen on paper. Trust me, it’s real difficult to draw with a mouse. Well, same thing goes for riding faders and tweaking knobs. By using a tablet you are one step closer to actually putting the virtual fader or knob on your fingertips. It may take a little getting used to, but once you have it down… look out music world. 😉
You can pick one up at Best Buy for about $100. Totally worth it.
4. Electronic Drum Kit
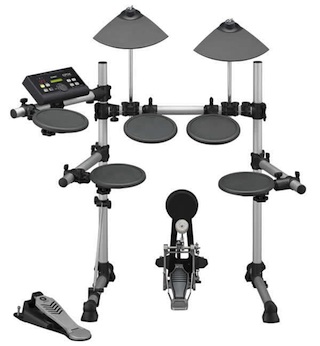
Here is the scenario: You can play drums, have a spouse in the house or live in an apartment, are limited in space in your studio and can’t afford $2000 + drums. E-kit to the rescue. Many people I know build their drum patterns for their songs in drum programs using loops and then spend gobs of time tweaking those loops to make them sound like a person played them and to make those loops fit the intricacies of their particular song. This is not only time consuming it also almost never works. More often than not, after all that time spent to make them sound like you hired a great drummer… it still sounds like a drum loop. The only way to get your drums to sound like a person played them is to actually have a person play them. Sorry to say. Computers, at this point, are unable to emulate the imperfect energy of a person playing. Within the actual loop itself the drums sounds great, but once incorporated into your song it becomes another story… too robotic, not enough human.
The wonderful thing about an e-kit is you only need to spend upwards of $500 or so for a decent kit, then spend another $300 or less on a drum program such as EZ Drummer or Superior Drummer and you sound like you are playing a $5,000 kit for under $1,000. This is because the patches for the programs are recorded at high quality studios using great mics and professional engineers. The e-kit will send out a midi signal to your DAW and then that midi will trigger the drum program, you make any timing adjustments via the midi notes and oila! you no longer sound like you used loops to track your song’s drum pattern and were able to do so without annoying your neighbors.
Side note: The reason I suggest a decent e-kit as opposed to the high-end ones is simply because I’m only using this kit as a trigger for the drum program. What you’re paying for in the high-end kits are the drum patches that come with that kit. I would save that extra dollar on the kit and spend that extra dollar on the drum program instead. You get better drums patches in the end.
5. Hooks & Twist Ties
Part 1: Hooks
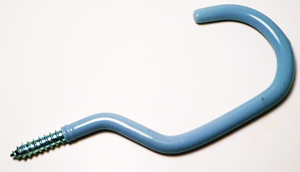
Newbie studio owner alert: Cables are annoying! There, I said it.
They are invaluable to the recording experience, but they consistently get in the way, wrap around everything you don’t want them to and can sometimes add a little hiss or hum to your recording (we’ll cover that last issue another day). Solution? Hooks. I believe these little babies are only 25 cents a pop at Home Depot, give or take a cent or two. You just screw them into the wall and your cables are outta the way until you begin to use them. I’ve seen elaborate devices that aim to provide the same convenience these hooks provide at ridiculous prices. You can’t go wrong with cheap. 😉
Part 2: Twist-Ties
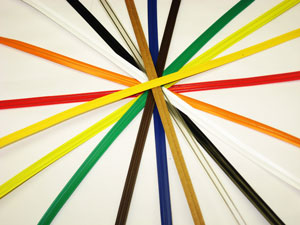
You’re sayin’, “Wha?”
I kid you not. Again, there are many music shops and the like that will try to sell you elaborate little straps and whatnot to help you wrap up and organize your cables (before you place them on your 25 cent hooks, of course). But, don’t be fooled people. They are nothing more than glorified twist-ties! 🙂 You can buy a bundle of these babies for $5 or so at Wal-Mart or the like. They come in different colors so you can organize your patch cables from your mic cables from your instrument cables, etc. Or… you could be extra cheap like me and just use the twist-ties that come with everything I ever buy. There is always a twist-tie included in music gear or stuff you buy that has to be put together from IKEA or whatever. I hoard twist-ties like they are the sole survival tool of Armageddon. Simple, but trust me they help keep your cables from entangling while sitting on your 25 cent hooks.
Well, those are 5 products that I find are extremely useful in my studio in that they save me time and/or money in the long run. What are some no-brainers that you include your studio? I want to know.
Till next time…
David (Cali Dingo)